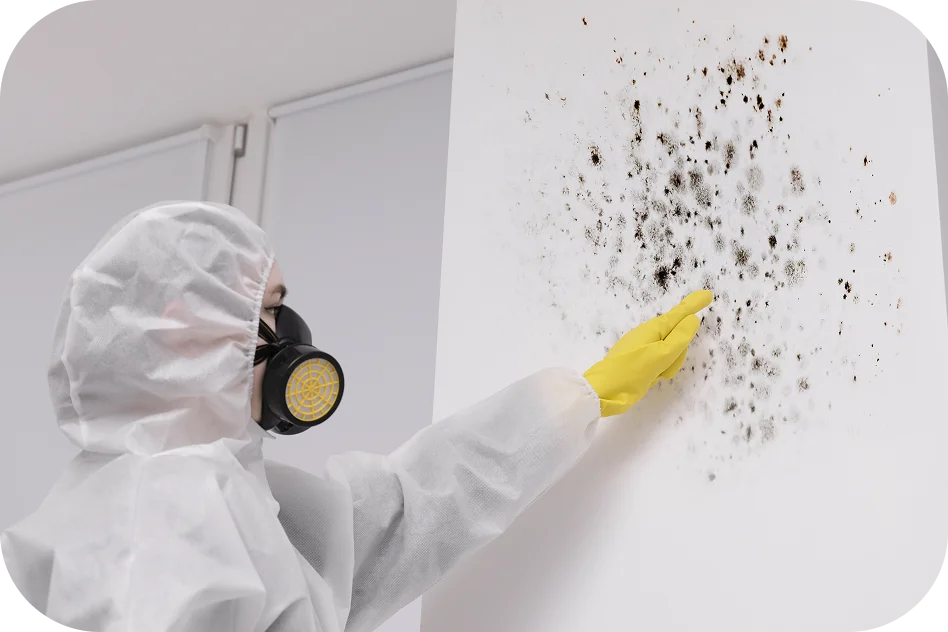
Key Takeaways
- Mold under sinks usually develops because of plumbing leaks, condensation, or poor ventilation.
- Find and repair the moisture source before cleaning the affected area.
- Wear gloves, eye protection, and an appropriate respirator when cleaning mold.
- Small areas on suitable hard surfaces can often be cleaned with detergent and water.
- Porous materials such as drywall, particleboard, and damaged cabinet panels may need replacement.
- Never mix bleach with ammonia, vinegar, or other cleaning products.
- Contact a mold remediation professional if the affected area is extensive or hidden mold is suspected.
Finding mold under your kitchen or bathroom sink can be unpleasant, especially when you notice a musty smell, dark spots, or dampness inside the cabinet. Mold commonly grows in these areas because sinks have plumbing connections, drainpipes, water supply lines, and other components that can develop leaks.
The good news is that small areas of mold on suitable, nonporous surfaces can often be cleaned safely. However, removing visible mold is only part of the solution. You also need to identify the moisture source and fix it to prevent mold from returning.
If you want to know how to get rid of mold under sink, this guide explains how to identify the problem, clean affected surfaces, prevent future growth, and recognize when professional mold removal is necessary.
1. Identify Why Mold Is Growing Under the Sink
Before cleaning mold, find out why it developed. Mold needs moisture to grow, and the space underneath a sink often provides the conditions it needs.
Common causes include:
Leaking pipes: Loose connections, damaged drainpipes, and worn washers can allow water to collect inside the cabinet.
Sink drain leaks: Water may escape around the drain assembly or plumbing connections whenever the sink is used.
Condensation: Cold water pipes can develop condensation when warm, humid air comes into contact with their surfaces.
Poor ventilation: Closed cabinets can trap moisture, making it difficult for damp surfaces to dry.
Water damage: Previous leaks may have soaked the cabinet floor, wall, or surrounding materials. Even after the visible water disappears, moisture can remain inside porous materials.
Check the pipes, cabinet corners, wall, and floor for dampness, discoloration, and water stains.
2. Prepare the Area Before Cleaning
Before removing mold, prepare the space to reduce exposure to mold particles and cleaning products.
Follow these precautions:
Wear disposable or reusable gloves.
Use protective eyewear.
Wear an appropriately fitted N95 respirator when cleaning a small mold-affected area.
Keep children and pets away from the cleaning area.
Remove stored items from underneath the sink.
Open nearby windows or provide suitable ventilation when possible.
Avoid disturbing mold unnecessarily. Scrubbing, sanding, or scraping dry mold can release spores and particles into the air.
If the affected area is extensive, the cabinet contains hidden mold, or anyone in the household has significant respiratory sensitivities, consider professional help rather than attempting to clean it yourself.
3. Find and Fix the Leak
This is the most important step because mold will likely return if the moisture problem remains.
Inspect the following areas:
Water supply lines: Check the hot and cold water connections for dripping or loose fittings.
Drainpipes: Look for water around joints, connections, and the P-trap.
Faucet connections: Check underneath the faucet where it connects to the sink.
Sink drain: Look for leaks around the drain opening and seals.
Cabinet walls: Check for damp patches that may indicate water entering from behind the cabinet.
Run the faucet for a few minutes while observing the plumbing underneath. You can also place a dry paper towel around pipe connections to identify small leaks.
Tighten loose connections if you can do so safely. Replace damaged washers or pipes when necessary. If you cannot identify the source, contact a plumber.
Do not begin cleaning until the leak has been repaired and standing water has been removed.
4. Remove Everything From Under the Sink
Take out cleaning products, garbage bags, storage containers, and other items kept inside the cabinet.
Inspect these belongings for visible mold or moisture damage. Wash and dry reusable plastic or glass containers. Discard items that are heavily contaminated or cannot be cleaned properly.
Remove shelf liners and any loose debris. This gives you access to the entire cabinet, including corners and areas behind plumbing.
If you find mold on cardboard, paper, or other absorbent materials, it is generally better to discard them.
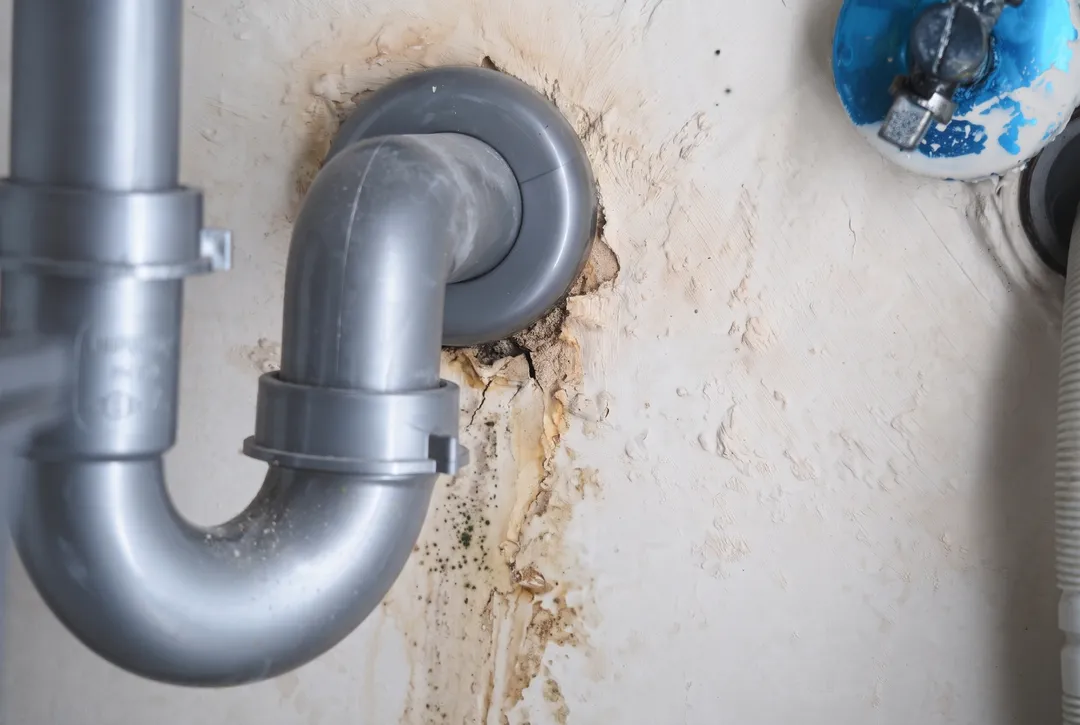
5. Clean Mold From Hard Surfaces
For a small mold-affected area on suitable hard surfaces, such as plastic, metal, or finished surfaces that can tolerate cleaning, detergent and water are generally sufficient.
Follow these steps:
Prepare warm water with a small amount of mild dish soap or household detergent.
Lightly dampen a cleaning cloth with the solution.
Gently scrub the visible mold from the affected surface.
Remove loosened mold and dirt with a clean cloth.
Wipe the surface with clean water if appropriate.
Dry the area completely using clean towels and suitable airflow.
Avoid soaking wooden cabinets or allowing water to enter joints and seams.
The US Environmental Protection Agency recommends cleaning mold from hard surfaces with detergent and water, followed by thorough drying. Killing mold without physically removing it is not enough because dead mold can still cause allergic reactions.
6. What If Mold Is Growing on Wooden Cabinets?
Mold can grow on wooden cabinet surfaces, especially when moisture remains trapped for extended periods.
The correct cleaning method depends on the wood's condition.
Finished wood: If mold is limited to the surface of intact, sealed wood, careful cleaning with a suitable mild cleaner may be possible. Avoid excessive water and dry the surface thoroughly.
Unfinished wood: Unfinished wood is more porous, so mold can penetrate beyond the visible surface. Cleaning may not remove all contamination.
Particleboard or MDF: These materials can absorb water, swell, weaken, and become difficult to clean when mold develops inside them. Severely affected sections may need replacement.
If the cabinet feels soft, swollen, or damaged, do not simply cover it with paint. Consider having the affected material assessed and replaced.
The EPA notes that porous materials may need to be discarded because mold can grow inside spaces that are difficult to clean.
7. Dry the Area Completely
After cleaning, make sure the cabinet and surrounding surfaces are completely dry.
You can use:
Clean, dry towels to absorb remaining water.
A fan to improve airflow.
A dehumidifier to reduce moisture in the room.
Open cabinet doors to allow air circulation.
Check the back wall, cabinet floor, corners, and pipe connections. These areas can retain moisture even when the visible surface appears dry.
Do not reinstall stored items or close the cabinet until the area is dry.
8. Avoid Common Mold Cleaning Mistakes
Some cleaning methods can create additional problems or expose you to unnecessary chemicals.
Avoid these mistakes:
Mixing cleaning products: Never mix bleach with ammonia, vinegar, or other cleaners. Dangerous fumes can develop.
Painting over mold: Paint does not remove mold or fix moisture problems.
Using excessive water: Soaking wooden cabinets can make moisture damage worse.
Dry scrubbing: Aggressive dry brushing can release mold particles into the air.
Ignoring hidden leaks: Cleaning visible mold without repairing the plumbing problem will not solve the underlying issue.
Using bleach as the first solution: Bleach is not routinely recommended for ordinary household mold cleanup. Focus on removing the mold and correcting moisture.
9. Prevent Mold From Growing Under the Sink Again
Once the mold is removed, take steps to keep the cabinet dry.
Check plumbing regularly: Inspect pipes, drain connections, and water supply lines for leaks. Fix small problems before they cause significant water damage.
Keep cabinet doors open occasionally: Allowing air to circulate can help moisture escape, especially after using the sink.
Use moisture absorbers: Moisture-absorbing products can help manage minor humidity inside enclosed cabinets. However, they cannot replace proper ventilation or leak repairs.
Avoid storing wet items: Do not keep damp cleaning cloths, sponges, or towels inside the cabinet.
Inspect the cabinet periodically: Look for musty odors, water stains, peeling surfaces, and dark spots.
Maintain good ventilation: Use bathroom exhaust fans where appropriate and address excessive indoor humidity.
10. When Should You Call a Mold Removal Professional?
Not every mold problem requires professional remediation. Small areas of surface mold can often be cleaned using appropriate precautions.
However, professional assistance is recommended when:
Mold covers more than approximately 10 square feet.
Mold keeps returning after cleaning.
You suspect mold behind cabinets, drywall, or inside walls.
The cabinet or surrounding structure has extensive water damage.
The leak involves sewage or contaminated water.
You notice a strong, persistent musty smell without an obvious source.
People with asthma, allergies, chronic lung conditions, or weakened immune systems should avoid cleaning mold themselves. The CDC recommends that these individuals stay away from mold cleanup because exposure may cause more serious health problems.
A professional can assess the affected materials, identify hidden moisture problems, and determine whether removal or replacement is necessary.
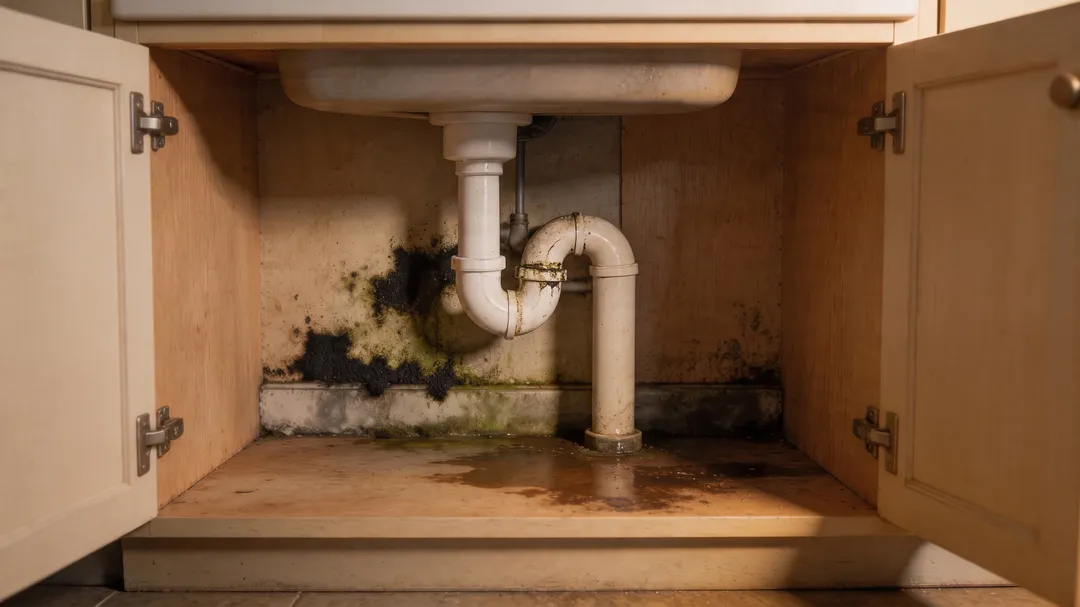
Conclusion
Learning how to get rid of mold under sink starts with finding the source of moisture. Whether the problem comes from a leaking pipe, condensation, or poor ventilation, fixing the underlying issue is essential to prevent mold from returning.
For small areas on suitable hard surfaces, use detergent and water, remove the visible mold, and dry everything thoroughly. Replace materials that are heavily damaged or cannot be cleaned properly.
If mold covers a large area, keeps returning, or appears inside walls and cabinets, contact a qualified mold remediation professional. Regular plumbing inspections, proper ventilation, and moisture control can help keep the space underneath your sink clean and dry.
Frequently Asked Questions
Why is there mold growing under my kitchen sink?
Mold commonly develops because of leaking pipes, condensation, poor ventilation, or previous water damage. The enclosed cabinet can trap moisture and create suitable conditions for mold growth.
Can I remove mold under the sink myself?
Yes, small areas of mold on suitable hard surfaces can often be cleaned with detergent and water. Wear protective equipment and fix the moisture source first. Larger or hidden mold problems may require professional help.
Does vinegar kill mold under the sink?
Vinegar may affect some types of mold, but it is not a guaranteed solution for removing mold from every material. Cleaning with detergent and water, physically removing the mold, and drying the surface are important steps.
Should I use bleach to remove mold under the sink?
Bleach is generally not recommended as a routine solution for household mold cleanup. It does not reliably remove mold growing inside porous materials. Never mix bleach with other cleaning products.
Can mold grow on kitchen cabinets?
Yes. Mold can grow on wooden cabinets, particleboard, MDF, and other materials when they remain damp. Porous materials with extensive mold damage may need replacement.
How do I know if mold is growing behind my sink cabinet?
Musty odors, recurring dampness, peeling surfaces, discoloration, and unexplained water stains may indicate hidden mold. A professional inspection may be necessary to identify the full extent of the problem.
How long does it take to remove mold under a sink?
A small surface cleanup may take a few hours, but drying and repairing the moisture source can take longer. Extensive water damage or mold inside cabinets may require professional remediation and material replacement.